Hands-on sail repair and maintenance with Carol Hasse and crew (published April 2013)
Though my home was moored in the shadow of Carol Hasse’s front door at Port Townsend Sails, I didn’t feel the need to dig out the tape recorder for our meeting. The objective wasn’t to delve into every nook and cranny of this remarkable sailor, sailmaker and person’s life. Instead, I wanted to be an active participant rather than a passive observer. My goal was to spend the weekend learning and absorbing the immense amount of practical knowledge and insight that comes with building and maintaining offshore quality sails for over 35 years.
The story actually began about 14 hours earlier. It was a Friday after work in mid-October and Jill and I hurried home to get the boat off the dock and pointed north. We were registered for Carol Hasse’s Hands On Sail Repair Seminar at her loft in Port Hudson Marina in Port Townsend, Washington and needed to make good time if we expected to get any rest before class started at 8:30 the following morning. Fortunately for us, the wind was blowing strongly out of the south and we like to sail fast.
As I kicked the engine into reverse and nudged us out of our slip, Jill got some tea going and handed up foul weather gear. Clearing the breakwater into Puget Sound we worked together to set the main against the howling wind and I cracked a smile as the sail filled when we got on course: quickly accelerating us to 7 knots. After setting the preventer and rolling the genoa out wing-and-wing we hit the 9-knot mark and it was obvious that our 35-mile trip to Port Townsend would be a sleigh ride.
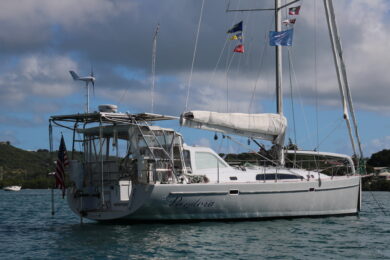
The night was dark and Yahtzee, our 1984 Grand Soleil 39, was in her glory surfing towards our date with Carol and her crew at Port Townsend Sails. With eyes, radar and AIS trained on the busy Puget Sound shipping lane we covered the run in just over four hours, two hours faster than I had anticipated.
READY TO LEARN
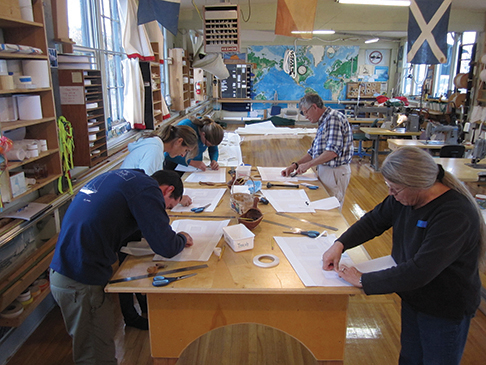 When Jill and I signed up for the weekend sail repair seminar I wasn’t quite sure what to expect, but was excited at the prospect of sailing to historic Port Townsend and meeting Carol Hasse. Plus, with plans of long distance cruising in our future, I knew we needed to gain a working knowledge of what it takes to maintain and repair our own sails offshore.
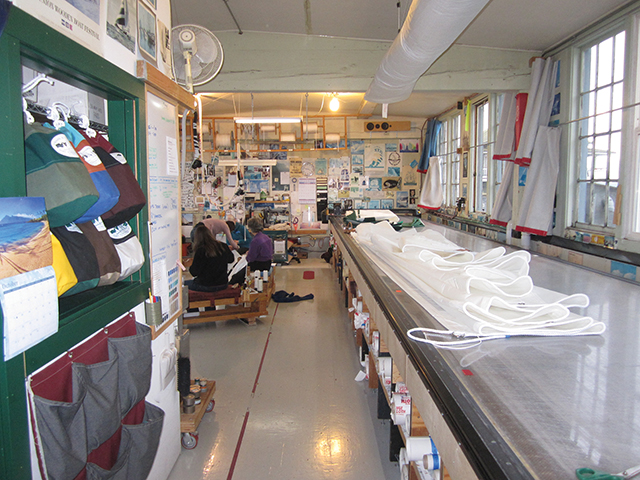
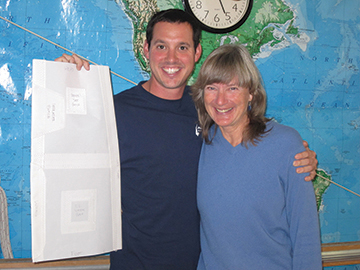
After removing our shoes and climbing the steps to the sail loft, we found Carol working in her office overlooking the marina. She smiled, introduced herself and we shared hugs and pleasantries like we had known each other for years. The two-day seminar kicked off a half-hour later with brief introductions from Carol, all 10 students and the other instructors who would be helping with the course.
Early on, Carol and her team—all experienced offshore sailors themselves—made it abundantly clear that the goal of the weekend was to not only to teach us how to care for our own canvas, but to help us become more confident, self-sufficient cruisers.
Here are some helpful tips and tricks that we learned about maintaining and repairing our sails, along with things that you might want to consider learning before heading off on your own cruising adventures.
GET HANDSY
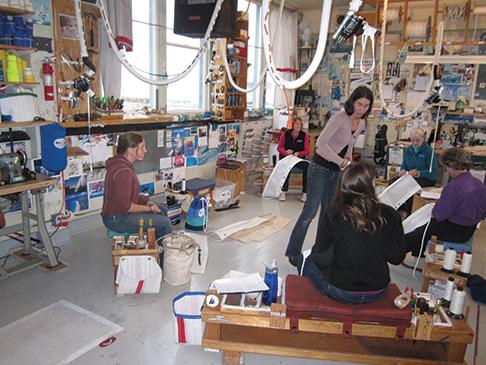
To achieve a 5-to-1 student-to-instructor ratio, the class was split into two groups that rotated between morning and afternoon sessions. My first session each day was with handwork. Using palms and needles, we started by learning how to sew in a ring and grommet along the luff of a practice sail. The advantage of sewn on rings is that they have over twice the staying power of a grommet that is just stamped in. Grommets tend to tear out of sails when they become corroded or when the cloth around them is old and brittle. Replacing one is an important skill to master due to the sheer amount of grommets that pepper our sails and also because they are the foundation for installing hardware onto sails.
From there, we learned how to sew leather chafe guard to a grommet then seize on a hank. Being able to fly a storm jib is of critical importance when sailing offshore in heavy weather and that ability depends on the condition of your hanks, among other things. When inspecting your hanks, make sure they are all the same size, as they will wear unevenly if not, check the pistons to ensure they open and close smoothly and that they are facing the same direction when attached to the stay. Next, look for corrosion and wear around the base of the hank and make sure it is not rubbing a hole in the sail or chafe guard.
Sew-on hanks are preferable to the bang-on type because they are easier to remove and install and cause less wear to the sail. If you currently have bang-on hanks on your jib, consider changing them before heading offshore or carry one spare sew-on as a replacement for each bang-on. After inspecting and making any repairs to your storm jib, set it up and get it flying on a moderate wind day. You shouldn’t need it often, but when you do, you’ll want to know how it works.
Building on that experience, we were then taught how to attach a mainsail slide, make an “easy reef”, mend a seam and how to properly sew on leather chafe guard to the edge or corner of a sail—all handy and useful things to know. I was impressed with these handwork sessions as everything we learned could be directly applied to the cruising boat I had sitting in the marina below, and with the proper tools, could be done anywhere in the world.
 SURVEY SAYS?
One of the most helpful sessions of the seminar was Carol’s class on sail trim, sail construction, maintenance and rigging. She started by explaining all the sails an offshore cruising boat needs, how to properly set and trim them and what to look for when completing a thorough sail inspection. She then pulled out sails from all over the loft to talk about variations in sailcloth and to demonstrate what makes the features of one sail superior to another.
As a perk, and because Yahtzee was in the marina, Carol invited me to bring up our storm jib and 70% jib as a demo for learning how to properly survey our own sails. While unfolding the storm jib, she explained that whether you are sailing around the world or in your home waters, a thorough sail inspection should be done once a year. Take your sails off the boat and lay them on a clean flat surface. Get a pen and paper and take notes as you go, you’ll be surprised at how much you find.
To start, look your sails over for any broken stitches. Check the head, tack and clew, run the leech and foot, move through the stitching on the middle of the sail including each reef point and batten pocket. Don’t be afraid to pull at the seams, if they break easily, they need to be re-stitched.
Then survey the sailcloth throughout the entire sail for places that are chafed and worn thin. On the main, look at where it rests against the spreaders and on the genoa, check all the places where the sail rubs against the shrouds and mast. Take a pin and stick it through the sail to identify any weak points, if it goes through easily and the cloth can be torn, it needs to be replaced or patched. Also, pay special attention to the UV cover on furling headsails as it is meant to wear with time.
Lastly, check everything on the sail that is not sailcloth. Look at the headboard and the rings at the clew and tack for distortion, corrosion and any elongation. Pull on the leech lines and make sure their cleats are secure and functional. Inspect all the grommets and slides or hanks for chafe and corrosion. Completing a routine check like this will greatly increase the life of your sails and will make you more familiar with how they are constructed and wear over time.
MACHINE WORK
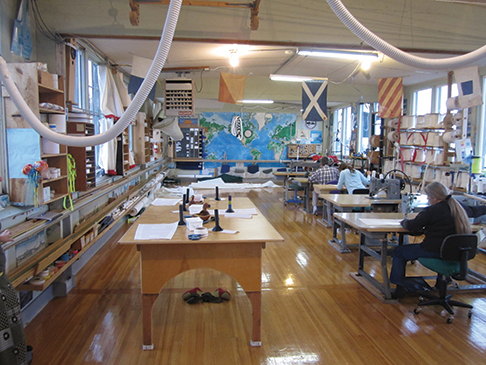 One full session was dedicated to machine work and while I was intimidated at first, with the patient tutelage of the instructor, I became much more confident by the end. In the machine work section, we learned about the parts of a marine grade sewing machine, how to use it and what are the necessary types of repairs that only a machine can perform. It was here where I learned that stitching has everything to do with future maintainability of your sails and to always think ahead because making necessary repairs early will greatly extend the life of your sails.
During the machine session we learned and practiced how to patch a hole in the middle of a sail, install chafe guard, fix a torn seam, apply a spreader patch, reinforce a corner ring with webbing and how to sew on leech tape over the leech line. Over the life of a sail, all of these skills will definitely come in handy. I can’t say that I came away as a master sewer by any means, but this session definitely sparked Jill’s interest and she has been diligently sewing ever since.
 As we sailed south towards Seattle on Sunday night, I couldn’t help but look up at our main and genoa with a discerning eye and newfound sense of appreciation for being able to maintain and repair something that is so vital to our preferred mode of adventure. Whether you take a class with someone like Carol (actually, there might not be anyone else like her), or learn sail repair and maintenance on your own, I’m sure you will find it worthwhile and rewarding when you make your first repair in a far-flung tropical isle.
Carol Hasse
Master Sailmaker Franz Schattauer taught Carol the sailmaking craft in the mid 1970s and she opened her shop in Port Townsend in 1978. Ever since, Port Townsend Sails has been crafting high quality, custom sails that are known worldwide. But Carol’s gift as a sailmaker is not solely rooted in apprenticeship. Having logged 45,000 ocean miles on boats from 25 to 100 feet, it is Carol’s unflinching love and passion for cruising that sets her and her products apart from the rest.
Carol can’t do it alone though, and she has some truly special people working with her. The team that she has assembled speaks volumes about her amazing personality, work ethic and attention to detail. They are just as excited about their jobs as she is and on top of their precise measuring, custom design and use of top quality hardware and cloth, their traditional handwork is something you will not find in any production sail loft.
